
Why You’ll Love This Recipe
Alright, straight up, this recipe is a game-changer for busy folks. I’m often juggling work, laundry, chasing pets, you name it. Making this artisan bread recipe fit right into my chaos. There’s no crazy kneading or fancy gear. No loud mixer giving me flashbacks to that one failed birthday cake disaster. Just hands, a bowl, and maybe good tunes in the background.
And the flavor? Goodness. It smells like a corner bakery and tastes legit better than ninety percent of what you’ll grab from the grocery store. My cousin’s picky kids even went back for thirds—which, if you have picky eaters at home, you know that’s basically five-star restaurant territory.
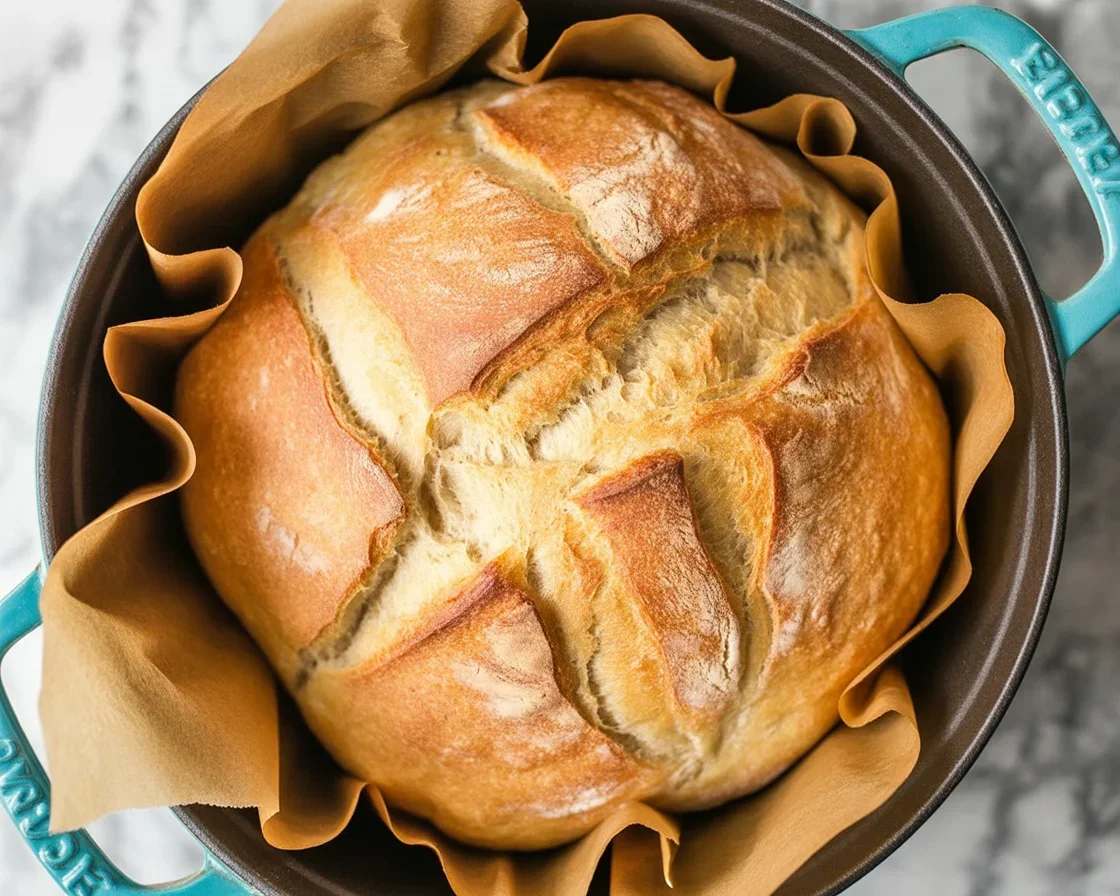
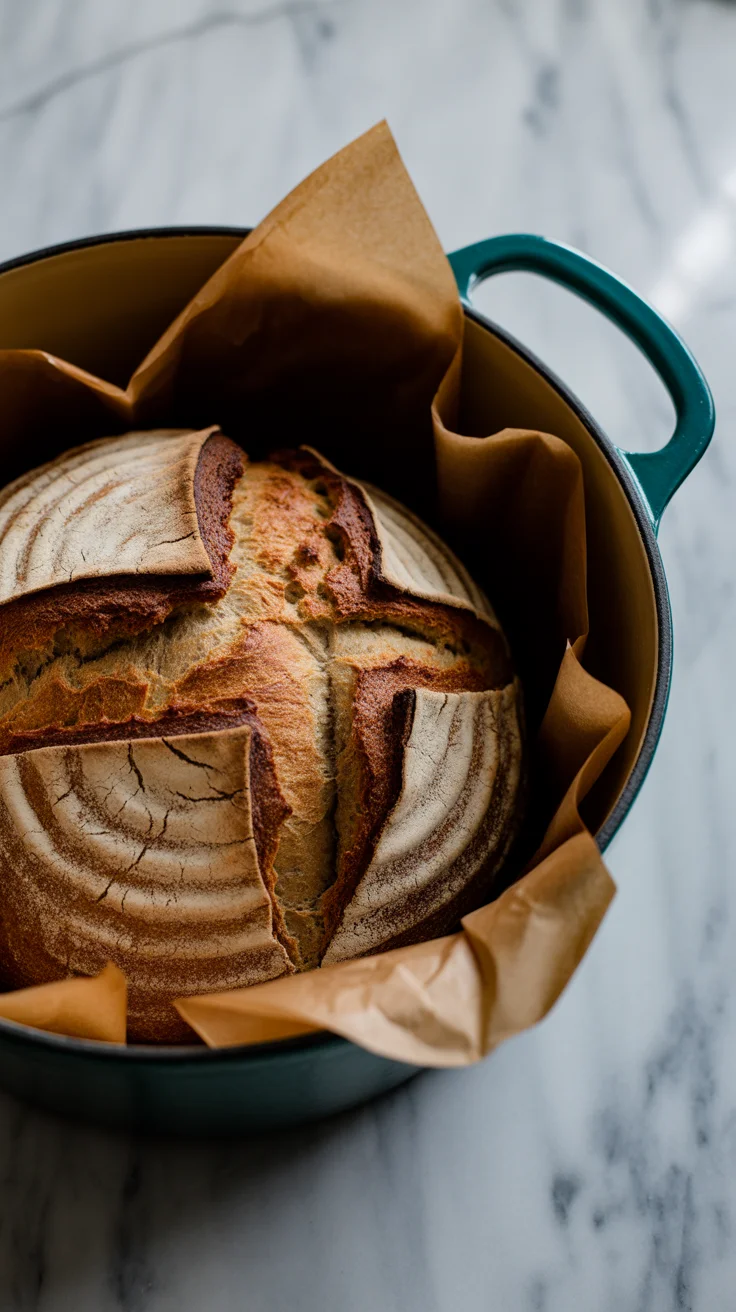
There’s also this satisfying crackly crust on top, chewy middle, and that “oh wow, I did that” feeling when you slice into it.
“I gave up on making bread ages ago, but this one came out perfect, and everyone thought I bought it from a real bakery!” — Hannah J.
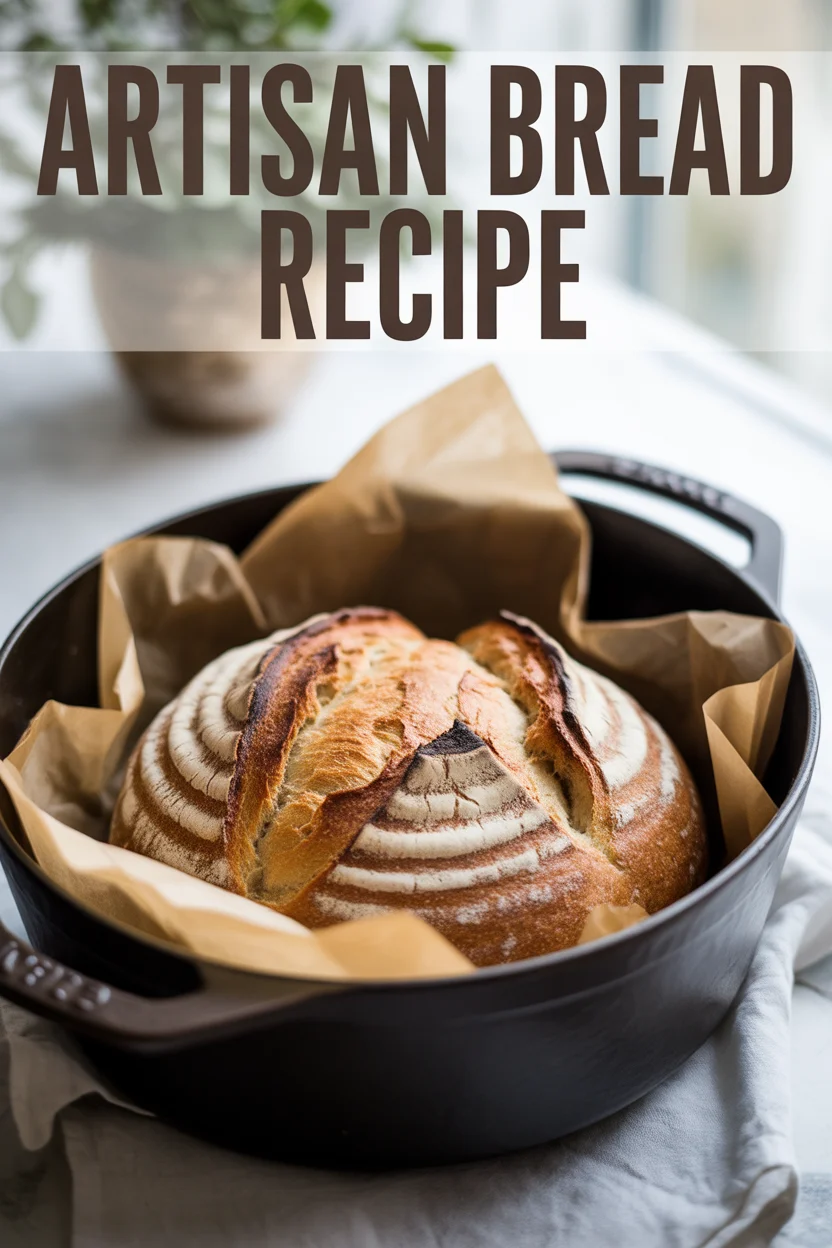
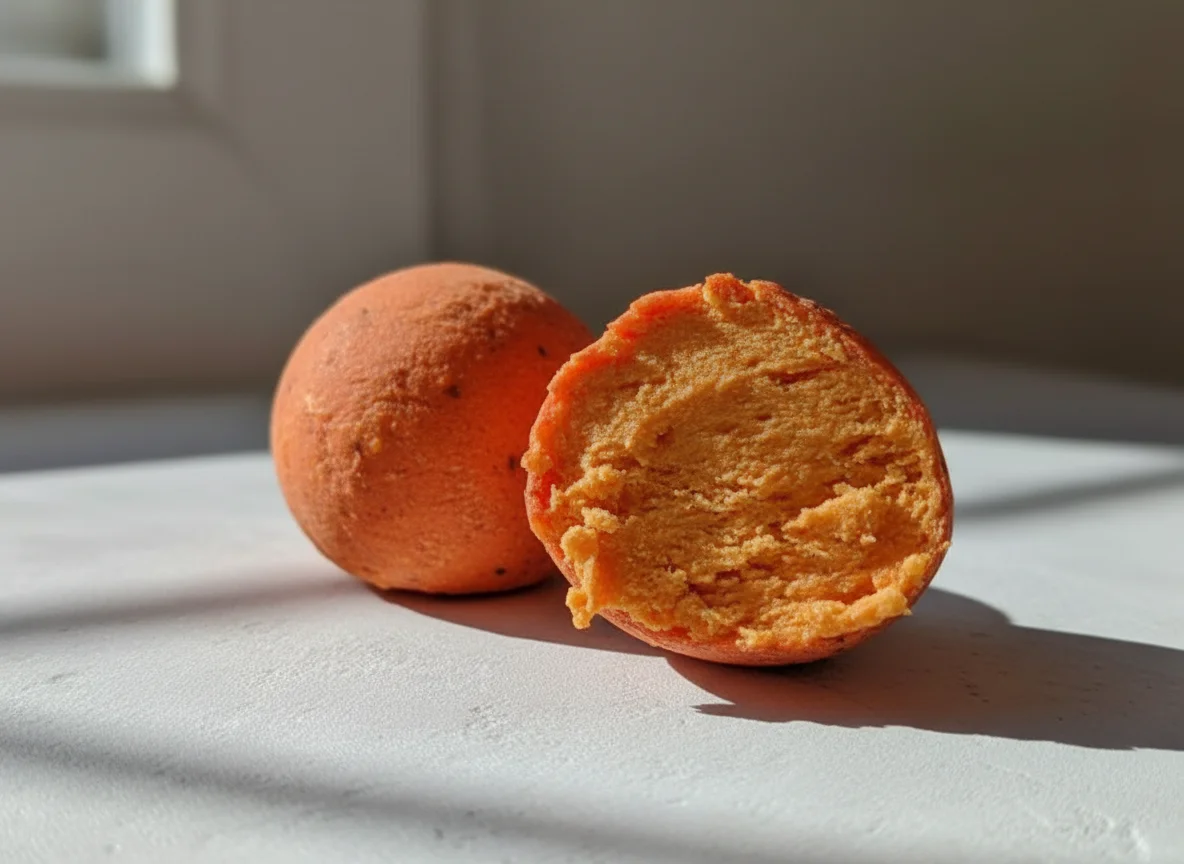
Artisan Bread
What You Need to Make This Recipe
So, listen—this list could not be simpler. Flour, yeast, water, and salt. That’s it. If you want to get fancy down the line, you can throw in herbs or maybe a sprinkle of cheese, but I like to keep it old-school first time around.
Use bread flour for best results, though all-purpose will honestly do the trick if that’s what’s in your cupboard. Don’t stress if you can’t get things super exact—sometimes I just scoop and go. For yeast, the usual packet works great. If your water is, I dunno, lukewarm like for washing your face in the morning, you’re golden. And salt—definitely don’t skip! That’s what brings out all those flavors. Just a smidge is enough.
You’ll want a big-ish bowl, some parchment, and a sturdy baking sheet or, if you’re feeling extra, a Dutch oven. Don’t need anything special beyond that, I swear.
Artisan Bread
How to Make Artisan Bread
Let’s not make this weirdly complicated. First, plop your flour, yeast, and salt in a big bowl and give it a quick mix around. Pour in your warm water—don’t burn yourself, just comfortably warm—and mix everything together. No gummy bear arms required, just stir until it looks like sticky, weird dough.
Now, cover that bowl with a kitchen towel, then walk away. Like, really walk away. Go do laundry, watch your shows, read some silly news. The dough needs to rise for about eight hours, which sounds like a lot, but it’s just minding its business. After it gets puffy and bubbly, flour your hands (love this part) and dump it onto a sheet of parchment.
Pat it gently into a round blob. I never make a perfect sphere—mine usually looks like a lumpy potato and nobody complains. Let it rest for another 30-45 minutes. Then, bake hot, like 450 F. I use my old Dutch oven, but a baking sheet would do.
When it’s golden outside and sounds hollow if you thump it? You nailed it. Cool for at least 20 minutes—if you can resist.
Artisan Bread
Pro Tips for Making This Recipe
Let me just tell you—overthinking destroys more bread than any “bad yeast.” For real, don’t panic if it looks strange at first. That sticky dough is your friend. The longer rise actually kicks in all those artisan flavors. I’ve rushed it before (I mean, who hasn’t wanted warm bread RIGHT NOW?) and learned it comes out a bit sad and flat. Just plan ahead for the rise, toss it together at night, and you’ll have fresh bread by breakfast.
Flour your hands well or you’ll look like you lost a flour fight with your kitchen. If you’re baking with a Dutch oven, preheat it first. This step makes a CRAZY crisp crust that will make you feel like a baking champion. Also? Slice with a serrated knife. I promise, you’ll thank me after the third gummed-up slice.
Artisan Bread
All the Ways to Eat This Bread
Here’s where things get wild:
- Slather slices with salted butter while it’s still warm (don’t skip this. Trust me, your taste buds will thank you.)
- Dunk hunks of bread into classic tomato soup or homemade broccoli soup delicious easy recipe for lunch.
- Top toasted wedges with smashed avo, fried eggs, or basically anything you’d pile on toast.
- Make late-night garlic bread by broiling with olive oil and garlic powder—ridiculously good.
Really, this bread has saved me from sad, empty-cupboard dinners more times than I care to admit.
Artisan Bread
Ready for Your First Loaf?
All right, real talk—artisan bread is not unattainable! Pretty sure once you start, you’ll never want store-bought again. If you want to get even nerdier on methods, this Artisan Bread – Sugar Spun Run post is a cool read, too. Honestly, even if you’re a baking rookie or just bored on a rainy Sunday, give this a whirl.
Let me know how your bread turns out (pics appreciated, bragging 100% allowed). And if you’re feeling more adventurous after that, maybe give a twist with something like this elvis bread pudding recipe.
Print
Artisan Bread
- Prep Time: 10 minutes
- Cook Time: 30 minutes
- Total Time: 480 minutes
- Yield: 1 loaf 1x
- Category: Bread
- Method: Baking
- Cuisine: American
- Diet: Vegetarian
Description
A foolproof recipe for crafting a delicious, rustic artisanal bread at home with minimal ingredients.
Ingredients
- 3 cups bread flour
- 1 packet active dry yeast (2 1/4 teaspoons)
- 1 1/4 cups warm water
- 1 teaspoon salt
Instructions
- In a large bowl, combine the flour, yeast, and salt.
- Pour in the warm water and mix until a sticky dough forms.
- Cover the bowl with a kitchen towel and let the dough rise for about 8 hours.
- Flour your hands, transfer the dough onto a floured surface, and shape it into a round loaf.
- Let it rest for another 30-45 minutes.
- Preheat the oven to 450°F.
- Bake the loaf until golden brown and hollow sounding when tapped, about 30-35 minutes.
- Cool for at least 20 minutes before slicing.
Notes
Flour your hands well to prevent sticking, and preheat the Dutch oven if using for a crispier crust.
Nutrition
- Serving Size: 1 slice
- Calories: 200
- Sugar: 0g
- Sodium: 200mg
- Fat: 1g
- Saturated Fat: 0g
- Unsaturated Fat: 1g
- Trans Fat: 0g
- Carbohydrates: 42g
- Fiber: 2g
- Protein: 7g
- Cholesterol: 0mg

Leave a Reply