
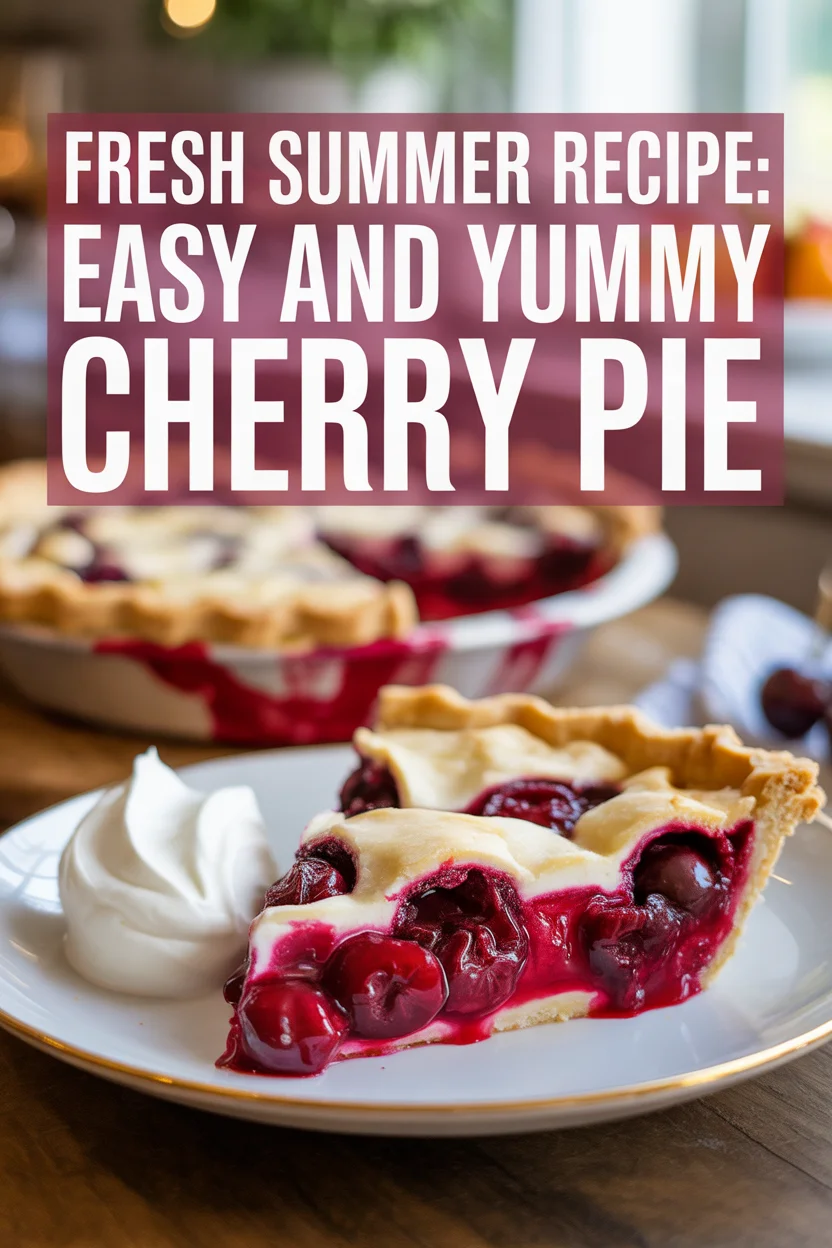
If you’re searching for the world’s easiest and tastiest cherry pie recipe (no joke, even my nine-year-old niece can help make it), you’re in the right place. Seriously, there’s nothing like that moment you crave something sweet, see a bunch of cherries at the farmers market, and realize you have no idea how to turn them into dessert.
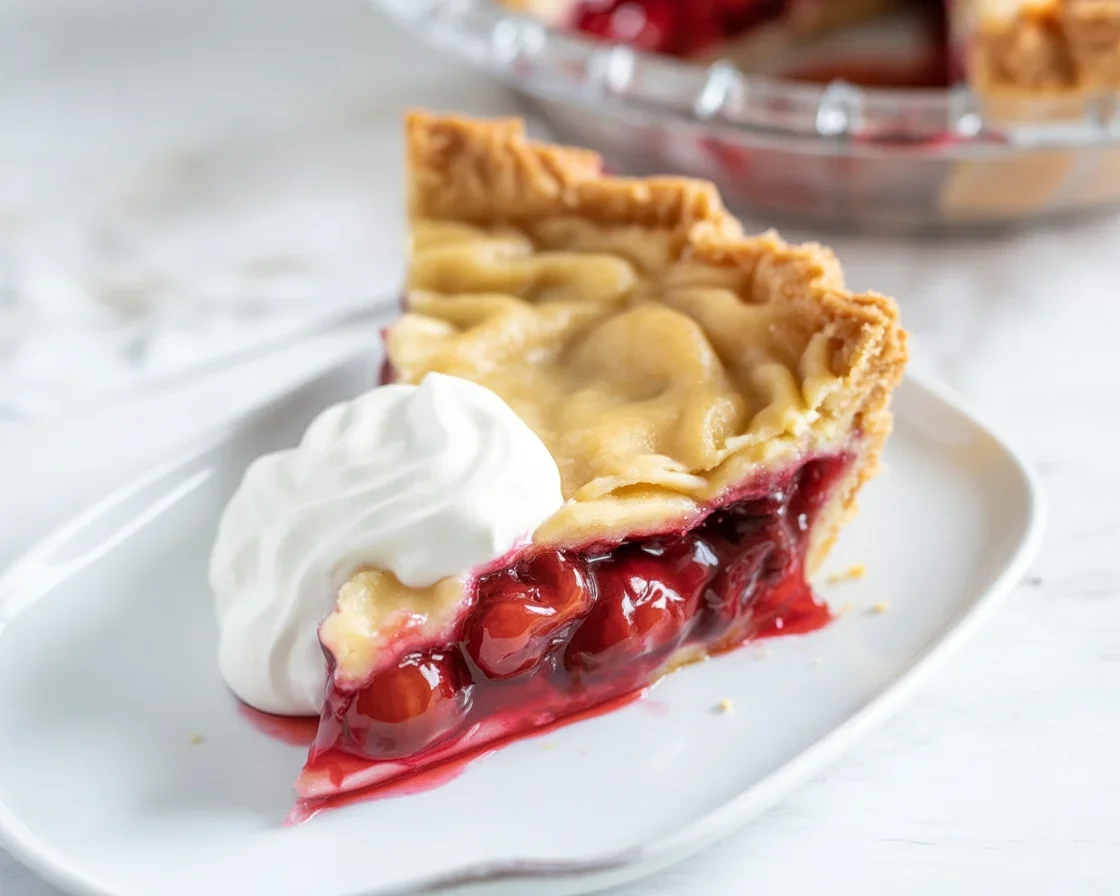
Cherry Pie recipe
That used to be me too. Quick tip: if you’re ever stuck on dinner before dessert, you can always peek at this delicious my crispy mashed potato pancake recipe which is such a hit in my house. Anyway, let’s get this cherry pie party started.
Best Cherries to Use for Cherry Pie
Okay, let’s be real, all cherries are not created equal for a cherry pie recipe. Some are mouth-puckeringly tart, others are straight-up sweet. One time, I made the mistake of using the wrong kind, and wow, the pie was painfully sour. For the best results, look for fresh sour cherries, like the Montmorency type.
They’ve got that perfect balance of sweet and tart. Can’t find sour cherries? Don’t panic, you can totally use sweet cherries – just reduce the sugar in your recipe a little. I’ve even cheated with frozen (seriously, mid-winter cravings wait for no one), and it’s pretty good.
Canned cherries work in a pinch, but they’re often sitting in tons of syrup, so you’ll need to drain and rinse them. Trust me, if you go with fresh, you’re getting pie that tastes five-star restaurant level. I know I sound over the top, but every summer when cherries are everywhere, I lose all chill. You’ll probably end up doing the same.
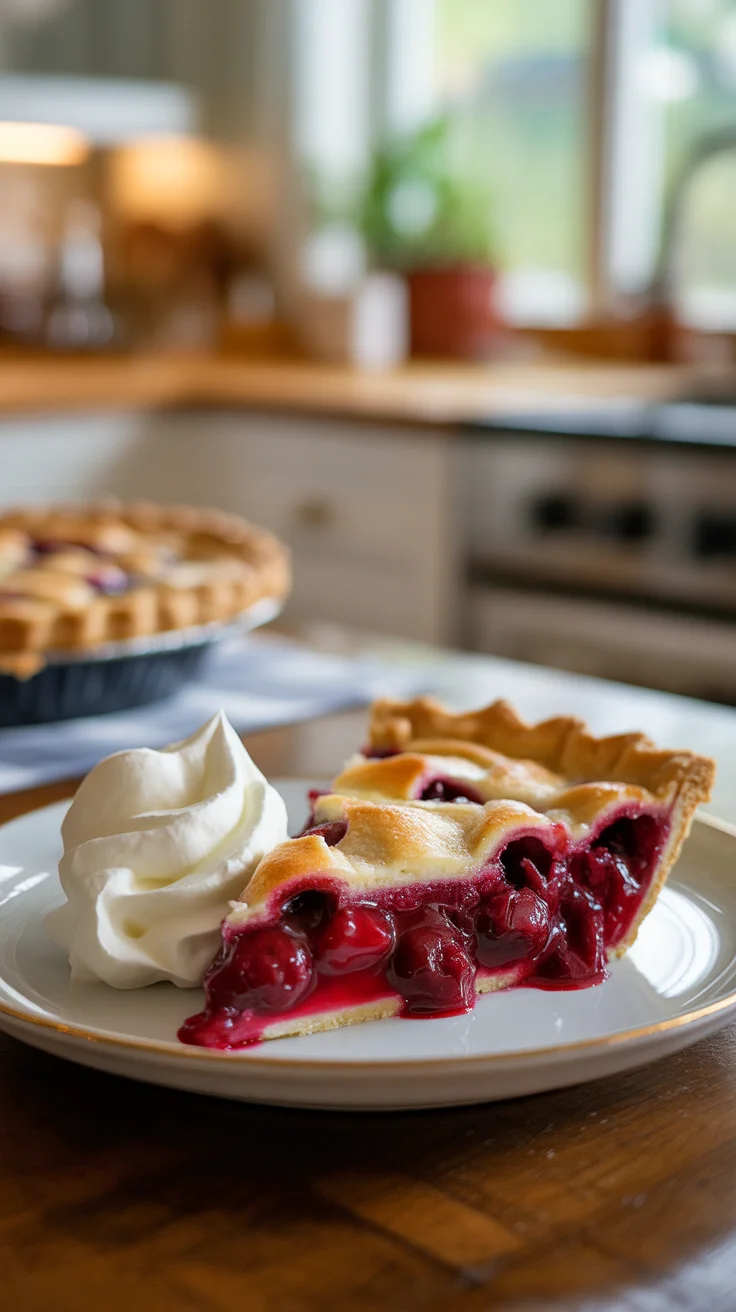
Cherry Pie recipe
Pitting Cherries
Honestly, cherry pitting is where you learn if your friends or kids actually love you. It’s not hard, but it can get messy. You don’t need fancy gear either. I used to poke the pits out with a chopstick or even a paperclip, but then I caved and got an actual cherry pitter. Good thing too, because the juice stains are serious business (watch your favorite shirt).
Pro tip: pit over a big bowl so the splatter doesn’t redecorate your entire kitchen. It’s sort of meditative, in a weird way. If you’ve never done it, don’t worry, after the first handful it’s all muscle memory. It’s also a good task for when you want to rope your partner or bestie into “helping.”
Kids are shockingly good at this chore (and happily eat the rejects). Just count your cherries once more, because finding a pit in your slice of cherry pie is like drawing the short straw.
“Hands down, the best tip I took from this blog was just biting the bullet and buying a cherry pitter. Cuts the time in half and the pie? Always amazing.”
— Jessie M.
Cherry Pie recipe
Reducing the Cherry Juices on the Stove Takes Less Than 10 Minutes
Here’s the part folks try to skip, but please, don’t. Reducing your cherry filling keeps your cherry pie from turning into a terrifying puddle. Scoop your pitted cherries into a pot, toss them with sugar, a little lemon, and that thickener (I’ll get to that magic in a second). Put it on low-medium heat and stir a few times.
You’re aiming for a thick, glossy, almost jammy texture. Trust me, that scent? Wild. It’ll start bubbling in minutes, and by the time ten minutes is up, you’re set. Don’t panic if it’s a bit runny—it thickens as it cools, and even more in the oven. I once tried skipping this step because I was lazy – regretted it instantly when the pie came out with a soggy bottom. Just ten minutes. Promise it’s worth every second.
Cherry Pie recipe
Lattice Pie Crust
This is your chance to get fancy (or, honestly, just a tad artsy). Lattice crust is classic for a cherry pie recipe, and it’s not as complicated as it looks on Instagram. Roll out your top crust, slice it into strips—use a ruler if you want clean lines, or eyeball it if you’re feeling wild.
Lay down a bunch of strips one way, tuck more strips over-under across, and voila…pinter- no, homemade magic. Never stress if the weave isn’t perfect—the rustic, messy vibe is completely charming, I swear.
Plus, a lattice lets the steam out, so your beautiful filling doesn’t bubble over and explode in your oven. I usually brush mine with a quick egg wash and sprinkle a bit of sugar on top. That crisp, golden shimmer? Unreal. Okay, now I’m just daydreaming about crust. Anyway, don’t miss this part.
Cherry Pie recipe
The Benefits of Using Tapioca Starch
People will debate this with some serious passion, but I’ll say it: the best way to thicken your cherry filling is not flour, not cornstarch, but tapioca starch. Stay with me. It sets the juices into a glossy, clear gel—no weird aftertaste, no cloudy filling. It isn’t lumpy, either.
Cherry Pie recipe
I used to grab whatever thickener was in the pantry, but after a friend (fellow pie nerd) swore by tapioca starch, I tried it. Game-changer. It holds the filling together, so when you cut into your first slice, all the cherries stay put instead of making a mess. Seriously, this is the pie hack nobody tells you. You’ll thank me (and that random friend) later.
Serving Suggestions
Honestly, do you really need ideas? But fine, here’s how I love to eat this pie:
- Warm with a giant scoop of vanilla ice cream. Yes, giant. You deserve it.
- For breakfast. Hey, fruit is fruit.
- With whipped cream if you’re feeling extra fancy.
- Room temp, straight from the fridge, no judgment. I’ve done it—just keeping it real.
So, if you want to take your cherry pie recipe up a notch, or you’re flirting with becoming “the pie person” in your group, just follow these steps and you’ll get there. By the way, if you need another tasty homemade treat, try this Easy Homemade Cherry Pie – Tastes Better From Scratch recipe for some extra ideas, or pop over for a classic elvis bread pudding recipe when you’re done.
Whew, I know it sounds like a lot, but honestly? This whole process gets super easy with a bit of practice. Just take a breath and have fun.
Cherry Pie recipe
Thanks for hanging out and talking pie with me—oh, and let me know if your cherry pie gets devoured in one day too. It happens. If you like cozy eats, by the way, you might also want to check out this powerhouse broccoli soup delicious easy recipe (totally a winter move). Happy baking!
Cherry Pie recipe
Print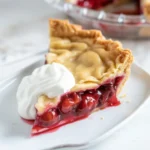
Easy Cherry Pie
- Prep Time: 15 minutes
- Cook Time: 50 minutes
- Total Time: 65 minutes
- Yield: 8 servings 1x
- Category: Dessert
- Method: Baking
- Cuisine: American
- Diet: Vegetarian
Description
The simplest and most delicious cherry pie recipe perfect for summer cravings.
Ingredients
- 4 cups fresh sour cherries (or sweet cherries)
- 1 cup granulated sugar (adjust if using sweet cherries)
- 3 tablespoons tapioca starch
- 1 tablespoon lemon juice
- 1 ready-made pie crust (for the bottom)
- 1 ready-made pie crust (for the top or lattice)
- 1 egg (for egg wash)
- 1 tablespoon sugar (for sprinkling on top)
Instructions
- Preheat your oven to 425°F (220°C).
- Pit the cherries and place them in a large bowl.
- Toss the cherries with sugar, lemon juice, and tapioca starch.
- Let the mixture sit for a few minutes.
- Pour the cherry filling into the bottom pie crust.
- If making a lattice crust, roll out the top crust, cut into strips, and weave them over the filling.
- Brush the lattice with egg wash and sprinkle sugar on top.
- Bake for 45-50 minutes until the crust is golden and filling is bubbly.
- Let cool before serving.
Notes
For a richer taste, consider adding a pinch of cinnamon or almond extract. Best served warm with vanilla ice cream.
Nutrition
- Serving Size: 1 slice
- Calories: 320
- Sugar: 25g
- Sodium: 200mg
- Fat: 15g
- Saturated Fat: 6g
- Unsaturated Fat: 8g
- Trans Fat: 0g
- Carbohydrates: 45g
- Fiber: 2g
- Protein: 3g
- Cholesterol: 40mg

Leave a Reply