
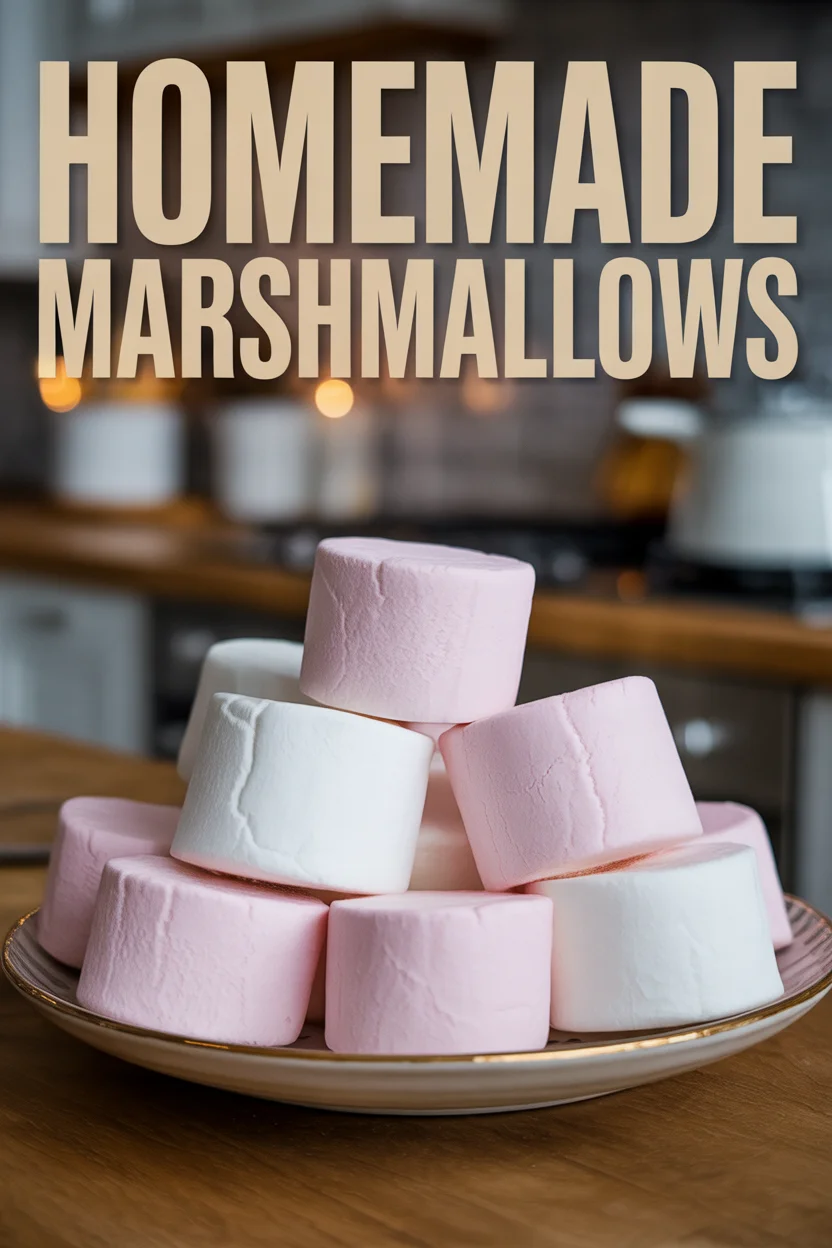
Homemade Marshmallows used to sound way too fancy for me. Like, honestly, who’s making squishy clouds from scratch when there’s a perfectly good bag at the store?
But then, picture it: cold winter night, hot cocoa in your biggest mug, and those bland, powdery store marshmallows sinking to the bottom. Bummer, right?
That’s how I got here (and so will you). Turns out, making homemade marshmallows is not only possible, it’s surprisingly chill.
Why Homemade Marshmallows Just Hit Different
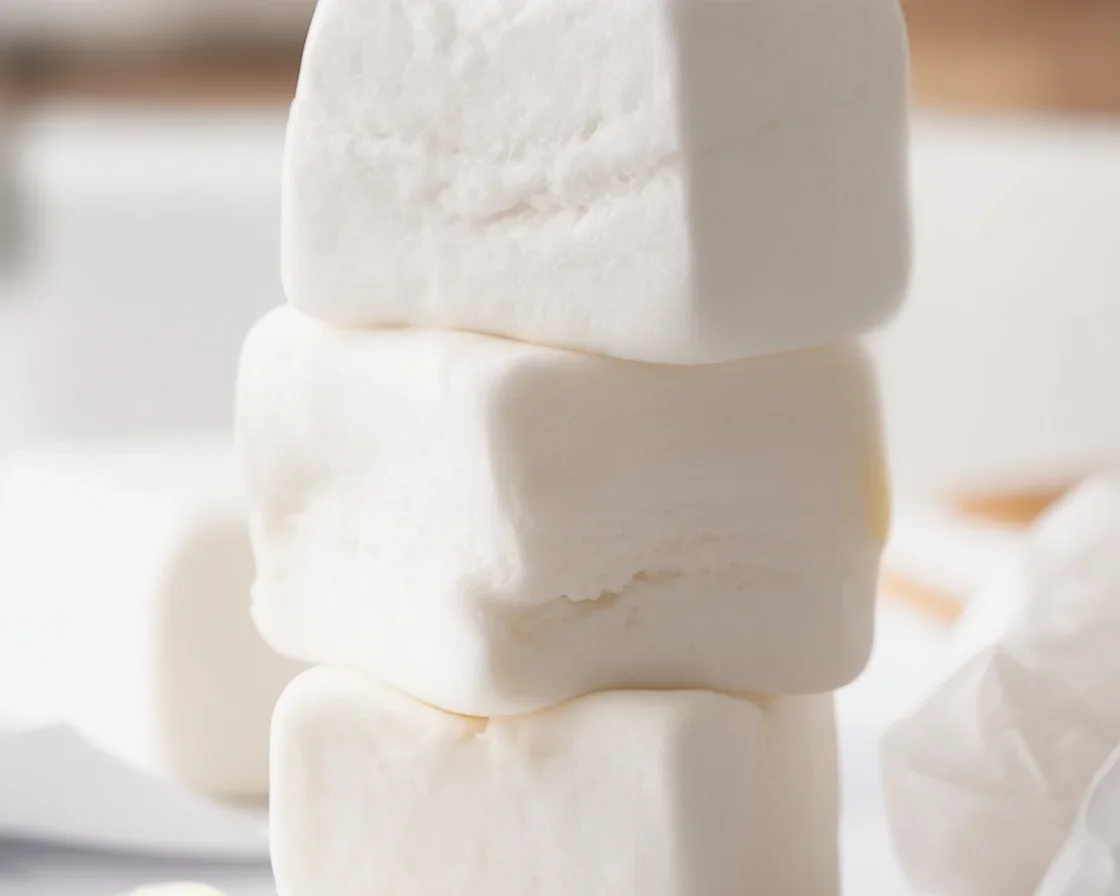
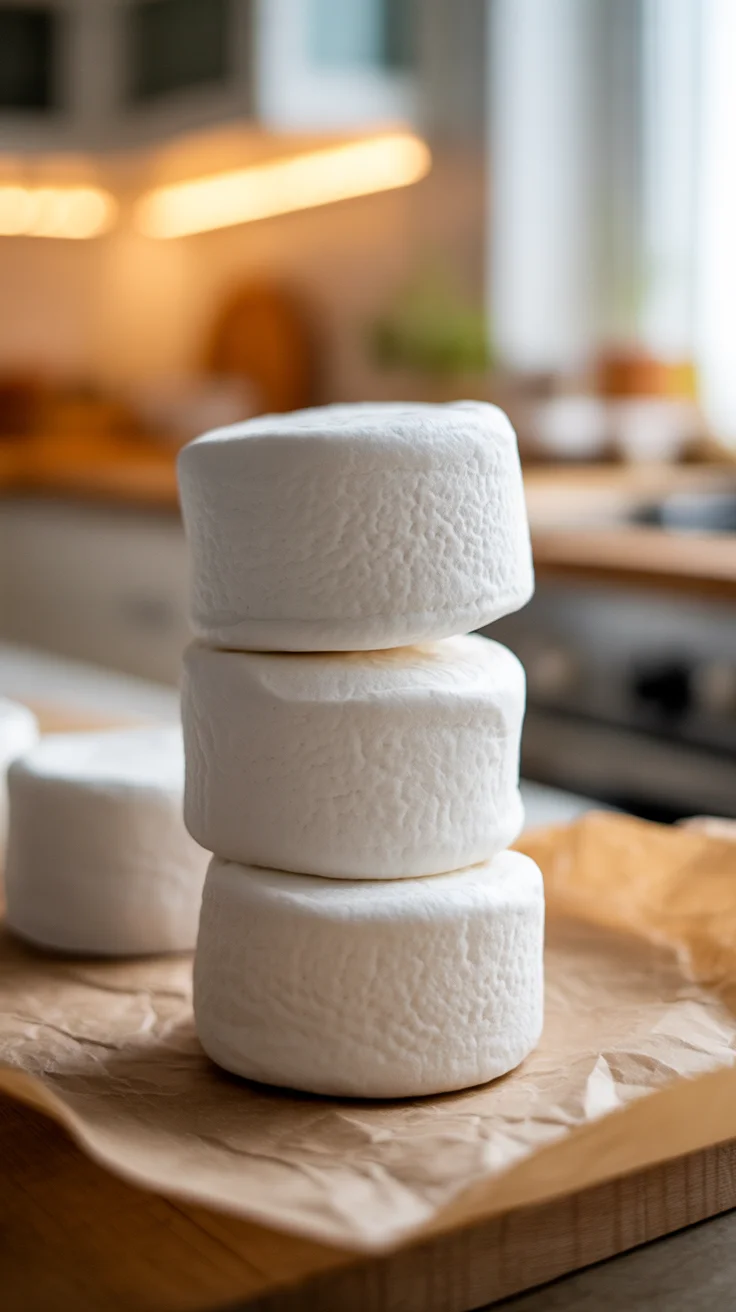
First of all, they’re wildly better. Homemade marshmallows? Fluffier, richer, actually melt in your mouth (not gluey at all). You know what you’re eating because, ta-da, you put in the ingredients yourself. My first batch tasted like a five-star restaurant compared to store-bought, and I’m not even exaggerating. Plus, you can cut them into whatever weird shapes you want. I went overboard with cookie cutters my first time. There’s something about seeing people’s faces when they bite into one — like, “Wait, you made these?” Almost makes you want to start a marshmallow stand on your block.
One thing nobody tells you: once you do these at home, the bagged ones at the store lose their magic entirely. Go figure.
| Homemade Marshmallows: fresher, customizable, and make hot cocoa a straight-up party in your hands. |
“These are nothing like what I grew up with. We put them on s’mores, and everyone basically lost their minds. My neighbor asked for the recipe immediately.” — Actual friend feedback (I can confirm s’mores are next-level).
Basic Ingredients for Homemade Marshmallows
Let’s not overcomplicate this. You almost definitely have most of it somewhere jammed at the back of a cupboard.
- Gelatin powder: Envelope packs work. Unflavored.
- Sugar: Granulated white is the standard, don’t mess with it, trust me.
- Corn syrup: Light kind is the easiest, keeps everything smooth and dreamy.
- Vanilla: The real stuff if you’ve got it. Any other flavorings? You do you.
- Salt
- Powdered sugar + cornstarch: For dusting, zero stickiness.
Optional: toss in a little food coloring or swirl in cocoa powder (my niece swears by pink marshmallows for tea parties).
How To Make Homemade Marshmallows (Step-by-Step)
Here’s where people chicken out, but listen. If you can boil water and operate a mixer, you’re set.
First, sprinkle gelatin onto some cold water in your mixer bowl. Let it get soft.
Now, mix your sugar, corn syrup, salt, and a splash of water in a saucepan. Crank up the heat (medium-high is my jam). Stir, but not obsessively. Just get it boiling, and you want it around 240°F. If you don’t have a candy thermometer, let the syrup go for about a minute after a strong boil.
Now, with your mixer on low, slowly pour the hot syrup into the softened gelatin. Don’t splash, watch out!
Crank your mixer up (high speed) and just let it rip. It goes from clear-ish goo to white, thick, sticky clouds in 10-12 minutes. Add your vanilla in the last minute.
Dump this all into a pan dusted with the powdered sugar–cornstarch mix, smooth the top, then dust more mix on top. Chill a few hours, cut, dust every piece, and that’s it.
The sticky part is real, but it’s worth it.
Serving Suggestions for Homemade Marshmallows
- Drop homemade marshmallows into hot cocoa (classic, no-brainer, must-do)
- Make ridiculous s’mores (level up with salted chocolate, trust a friend)
- Toast under your oven broiler for a caramelized top (lifesaver if you live in an apartment)
- Snack on them plain (yup, as guilty pleasure as it gets)
You can also sneak them into gift bags, and watch relatives text you for the recipe on the car ride home.
Keeping & Storing Homemade Marshmallows
Here’s a pro tip: keep homemade marshmallows in an airtight container with a little extra powdered sugar and cornstarch. If you ever left them out, you’ll know quickly they get sticky. Room temp works for about a week, fridge buys you a little longer (although honestly, they rarely last). If you freeze them, let them thaw at room temp so you don’t wind up with weird marshmallow bricks.
I sometimes double the batch and stash half for rainy days, which is a real treat if you forget you hid them.
Homemade Marshmallows
- Prep Time: 15 minutes
- Cook Time: 10 minutes
- Total Time: 180 minutes
- Yield: 16 servings 1x
- Category: Dessert
- Method: Mixing
- Cuisine: American
- Diet: Vegetarian
Description
Deliciously fluffy and customizable homemade marshmallows that elevate your hot cocoa and desserts.
Ingredients
- 1 envelope unflavored gelatin
- 1 cup granulated sugar
- 1/2 cup light corn syrup
- 1/4 teaspoon salt
- 1 teaspoon vanilla extract
- Powdered sugar and cornstarch (for dusting)
- Optional: Food coloring or cocoa powder
Instructions
- Sprinkle gelatin onto cold water in your mixer bowl and let it soften.
- In a saucepan, combine sugar, corn syrup, salt, and a splash of water; heat until boiling and reaches 240°F.
- With the mixer on low, slowly pour the hot syrup into the softened gelatin.
- Increase mixer speed to high and mix for 10-12 minutes until thick and white, adding vanilla in the last minute.
- Dump the mixture into a pan dusted with the powdered sugar-cornstarch mix, smooth the top, and dust more mix on top.
- Chill for a few hours, cut into pieces, and dust each piece with more powdered sugar-cornstarch mix.
Notes
Store in an airtight container with extra powdered sugar and cornstarch to prevent stickiness. Best consumed within a week at room temperature or longer when refrigerated.
Nutrition
- Serving Size: 1 marshmallow
- Calories: 50
- Sugar: 10g
- Sodium: 10mg
- Fat: 0g
- Saturated Fat: 0g
- Unsaturated Fat: 0g
- Trans Fat: 0g
- Carbohydrates: 12g
- Fiber: 0g
- Protein: 0g
- Cholesterol: 0mg


Leave a Reply